It’s been over a year since Archimedes’ Maiden Voyage. If you read my last post, you will know that I’ve made some mistakes. I tried to address some last year before giving up disillusioned and deflated. The question remains whether Archimedes can be saved, whether I should build “Leonardo” adhering more closely to the V2 design, or should just give up. Here are the “workarounds” I tried last year.
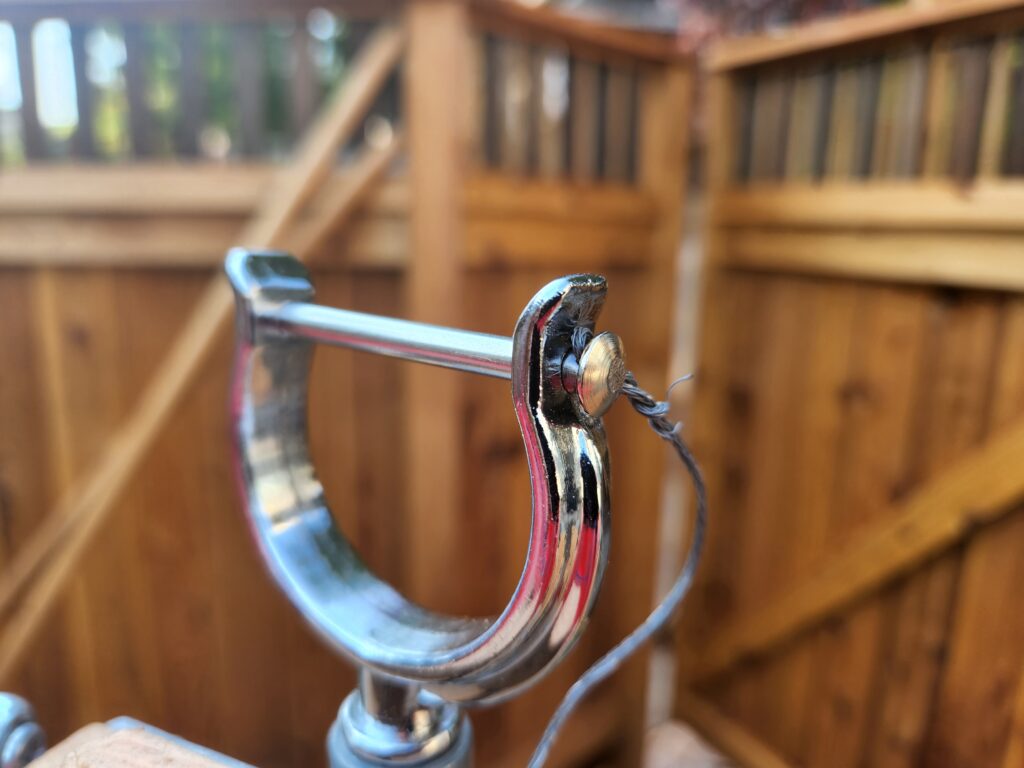
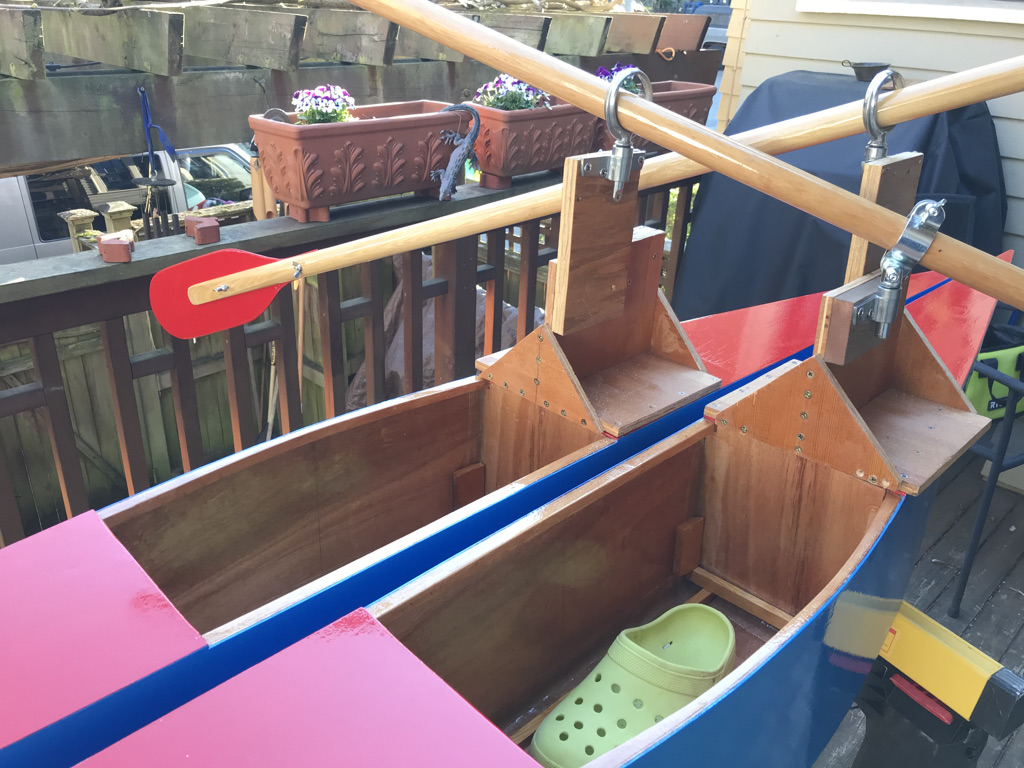
First, you can see the new oarlock support fittings. They include nifty bicycle seat clamps that allow the oarlock to be easily adjusted to control the blade height above the water. Also added are 2 inch risers in the cockpits to prevent water overflow. These improvements worked, however there are bigger issues now that need to be solved.
The oarlock fittings partially disintegrated over the winter because the vertical sliders were made of ordinary plywood. They needed to be rebuilt anyway though because it appears that the paddle blades should be further from the water than the old fittings allowed.
Even though the cockpit extenders are light, the skis are even more unstable. Without a skier on the skis, they fall over.
The FootPaddle needs to be mounted a full foot forward to allow room for the handheld paddle.
Testing on August 13 illuminated another major design flaw. Not enough thought was given to how the skiers would get into the skis. All the testing of V2, and V3 last year had been off of docks that were just a few inches above the water. It was possible to position the skis next to the dock with the FootPaddle blades resting on the dock. Some finesse was required to get away from the dock and into open water. The floating lower dock was roped off on 8/13, so I tried launching from the stationary dock, about a foot above the water. There was no way to have the skis up against the dock with the blades resting on the dock. I had to have the paddles at about 45° from the skis. This made it even harder to keep the skis from tipping over into the water.
So, here are the workarounds I’ve made or plan to make.
I’ve purchased new oarlocks that are open at the top, with a pin to go across and hold the shaft in place. The hope is I can have the skis right up against the dock, and then set them in the oarlocks once I’m away from the dock. I tried this once and almost died. I was using paper clips inserted through a hole in the end of the pin to keep it from slipping out. It is almost impossible to get the pin in while balancing on the skis. I’m looking for another way to hold the pin in place, however with the oarlocks moving a foot forward, it will be even harder to get the pin in.
The only way to solve the stability problem is with some sort of ballast. I see two ways to accomplish this.
Use weight inside the cockpit next to the boots.
Attach a fin to the bottoms of the skis. A fin might be more effective, since I would be able to get the weight lower down.
I tested interior ballast using stones. A couple of pounds allowed me to get into the skis when when the paddles were in place, however at one point I removed the paddles from the oarlocks (by pulling out the pin) and they fell right over into the water. I’ve decided to bite the bullet and get some fins. It seems there are glue-on options for standup paddle boards.
I’ve fabricated this test rig so I can figure out how much weight is needed, and how long the fin needs to be.
The ski is upside down in this picture. A 13 inch piece of wood sticks down from the bottom of the ski to simulate the fin. Quartz (counter top) blocks have been cut to 1/2 LB, 1 LB, and 2 LB weights and can be attached to vertical fin-simulator at 2 inch increments using copper wire. The little piece of quartz at the end is just to cancel out the floatation from the wood.
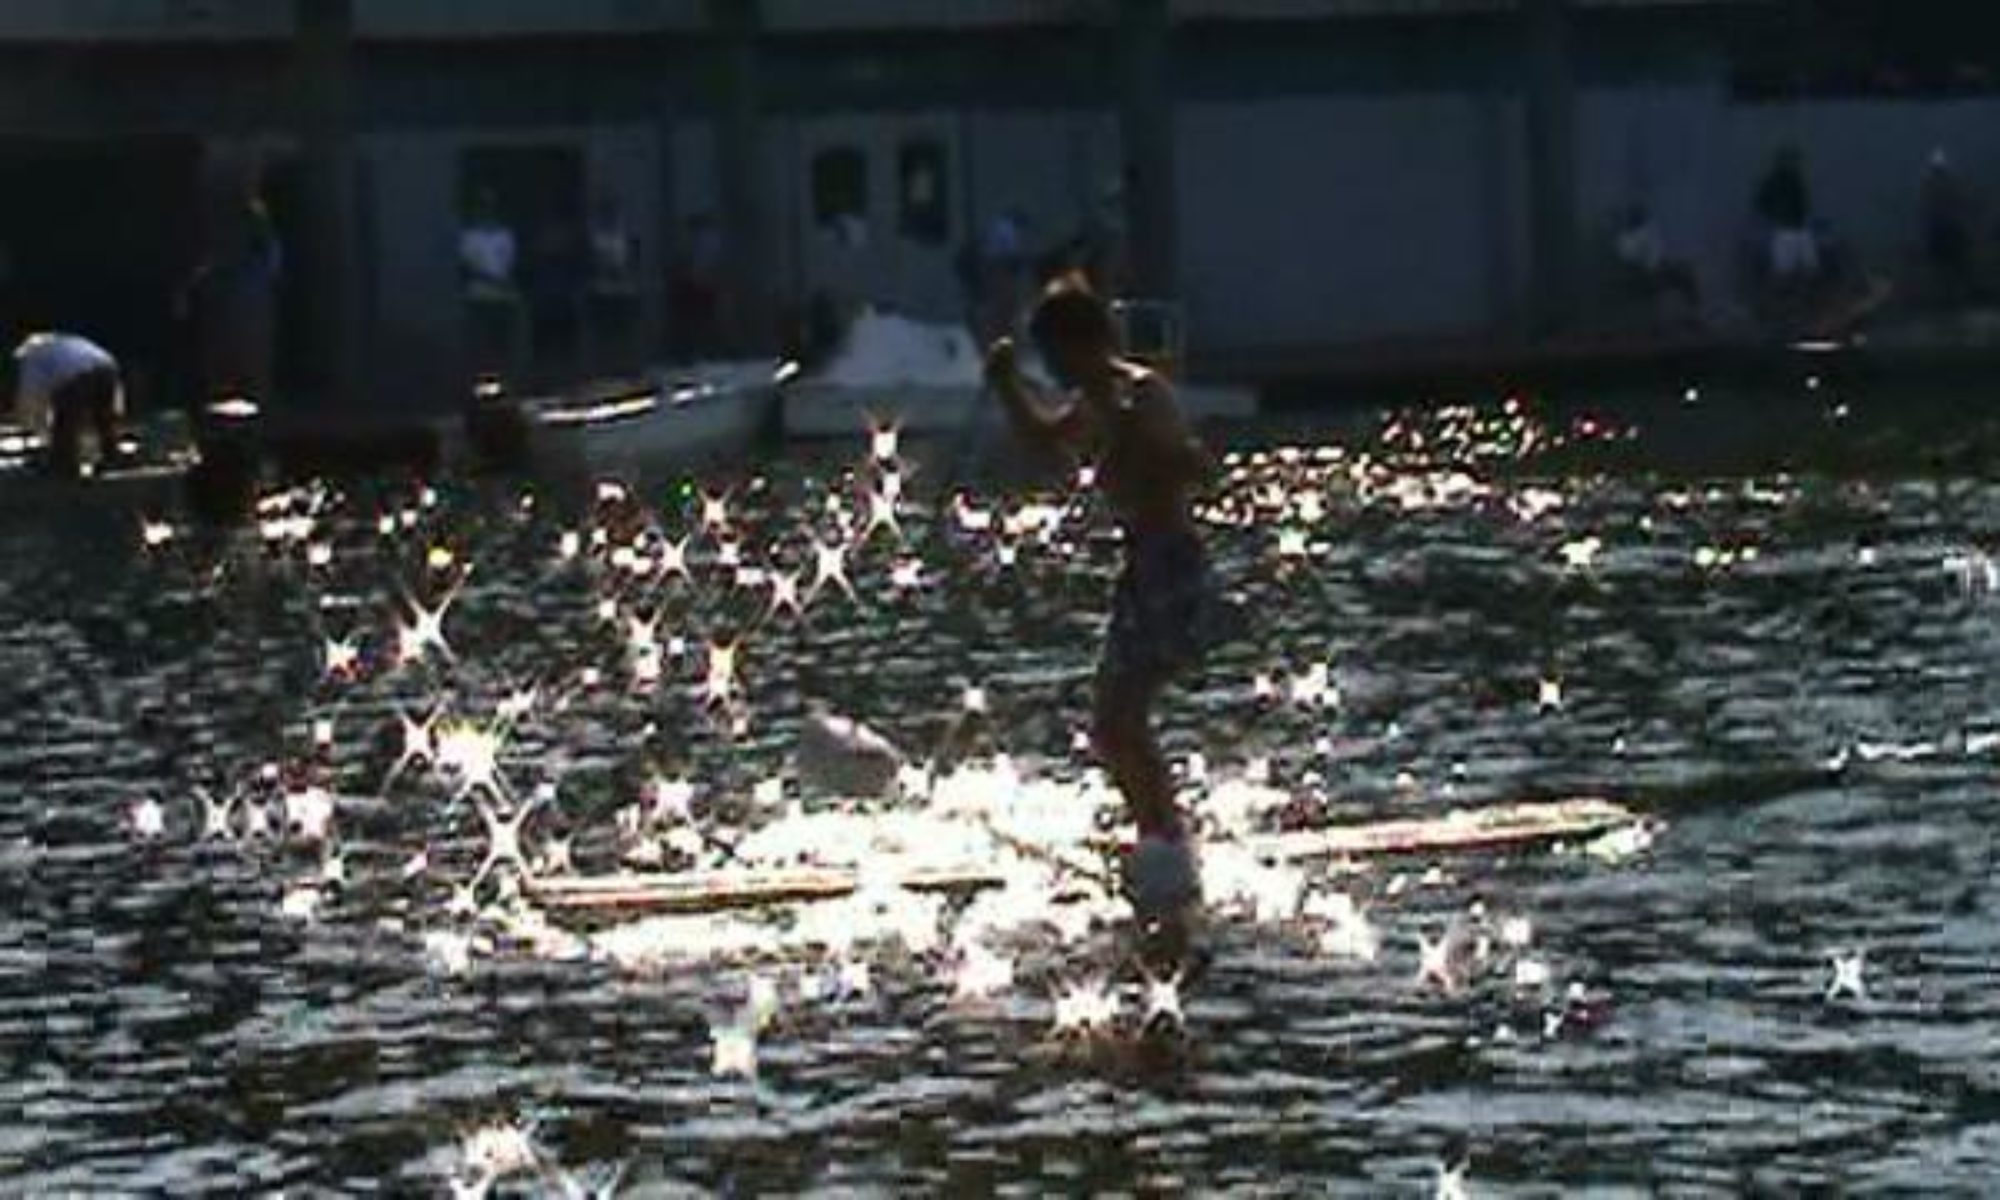
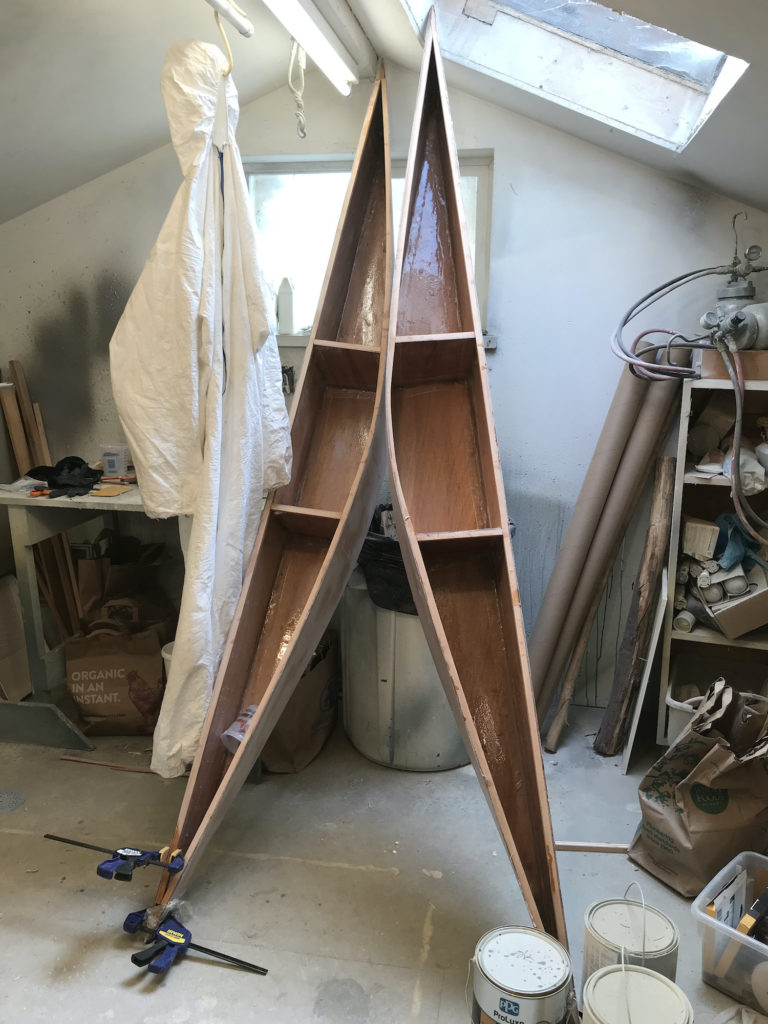
Archimedes Maiden Voyage occurred as scheduled on April 18, 2021. I’ve got good news and bad news. First the good news: SHE FLOATED. Also, a nice crowd of people came and enjoyed drinks and snacks while watching the spectacle. And of course, Archimedes looked good.
Erik, Margarett, Kristen, Carolyn, Nancy, Kip, Stanley, Jeff. Not pictured: Michael, David S, Harry, Gil, Mark, NancyRose, Andy, Elizabeth, David
Now the bad news. V3 performance was nowhere as good as V2. I’d say, they barely functioned. I’m going to outline a detailed analysis of the problems and how I’m thinking to address some of them later in this post. I’d be grateful for your feedback and suggestions. First, here is some video footage from the maiden voyage.
The remainder of this post will be a detailed post-mortem on the failings along with a proposed path forward.
Issues
Radical innovation vs. incremental improvement
I need to remind myself how we got here before continuing with the list issues. I had used my V2 skis again last summer after a 10 year break. I made only a couple of minor adjustments and had them working pretty good. I went further and faster than ever, crossing Union Bay in about 20 minutes. Remembering the fun we had 10 years ago, I decided it would be worth taking the “next step”. I thought that would be improving ease-of-use, making them faster, and making it easier to measure the effects of configuration adjustments such as paddle length and blade size. I also wanted to be able to make them work for a wider spectrum of skier body sizes and abilities. Lastly, though I had abandoned the thought of seeking a patent, I still wanted to make something that could become a product or look like a product.
I had no idea of how my new skis would be constructed at the end of last summer. I had always realized that boat hull construction could be an alternative to floatation construction as the V1 milk carton skis or V2 styrofoam skis had been. I found the stitch-and-glue technique and thought it would offer a light weight and customizable solution. The entire ski would offer floatation, unlike the V2 cockpit that fills up with water. I came up with the banana shape while trying to figure out how to bring the skiers feet closer together (less bow legged) and provide a smooth, flat surface for the skis to rub against each other.
The dimensions of my skis were partially driven by ease of constructions. My 3mm marine plywood was 8 feet in length, so I chose to make my skis 8 feet long. Longer skis would have meant scarfing the plywood together. The V2 skis were 9 1/2 feet long so it seemed I was not losing too much in length. I also chose to make Archimedes 9 inches wide. V2 was 10 inches wide. My thought was to bring the skiers feet an inch closer together and reduce drag. Finally, I increase the height to 9 inches to compensate for the loss of buoyancy from making Archimedes an inch narrower and 1 1/2 feet shorter. V2’s styrofoam height was 6 inches.
It did not occur to me at the time that my new design was closer to radical innovation than to incremental improvement. I didn’t realize that the wood under the styrofoam in V2 was providing stability. Because my skis would be so much lighter, the FootPaddle and support assembly would be more than 1/3 of the weight of the ski, adding to the instability. It didn’t cross my mind that the center of gravity would be different from the center of buoyancy.
Rear vs. front mounted FootPaddle
I knew there would be aspects of the FootPaddle support assembly that would need further design. I should have known better though than to put it behind the cockpit. The main reason I moved it to the front in V2 was so the skier could see the FootPaddle blades going in and out of the water. I thought though that by putting the foot paddle right up to the cockpit behind the skier, it would still be possible to see the blade action. WRONG. You would have be be bending over looking backwards. Even more importantly, the smooth aft deck makes is possible to get back in the skis if you have fallen in (as demonstrated in my 2009 infomercial). I knew I could just turn the skis around by reversing the boots, however when I did this on April 18, my knees were hitting the assembly. Also, the FootPaddle needs to be far forward enough so the hand paddle doesn’t hit the FootPaddle blades.
Instability and balance
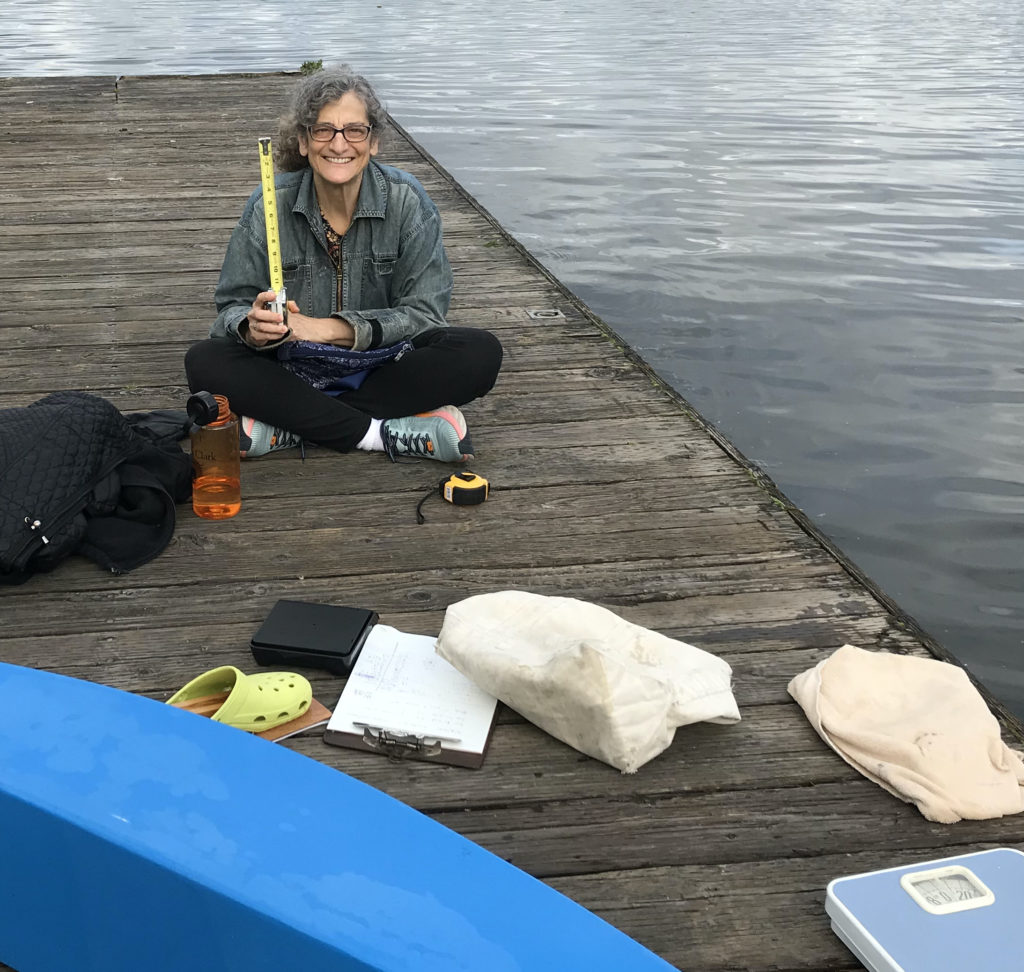
Taking field measurements
As soon as I put the skis in the water, I saw that they did not remain upright. Even without the top-heavy FootPaddle assembly, the skis rocked over toward the flat, inboard sides. This also happened while skiing, causing the oarlocks to go towards each other, and the paddle blades to go into the water stopping the skis like brakes. We went down to the dock a couple of weeks after the maiden voyage to take some measurements.
I had calculated the centroid of the bottom of each ski to be 3.6 inches from the inboard flat side. Our measurement showed it to be 3.9 inches. That’s a larger discrepancy that I would have expected, but okay. The big surprise was that the center of gravity (determined by balancing the ski upside down on my thumb) was only 2.8 inches from the inboard flat side. I measured the vertical center of gravity to be 4.3 inches from the bottom, or about half way between the top and bottom as expected. The result is an 11 LB force of buoyancy pushing up at 3.9 in, an 11 LB force pushing down at 2.8 in, a vertical center of gravity about 4 inches above, and a ski that rocks over into the water. With the FootPaddle assembly raising the vertical CG even higher, the problem is worse.
This instability made it hard to get onto the skis from the dock. A bigger concern though is the effect on the dynamic behavior while skiing. I designed the bindings to allow the boot to be positioned fore/aft and right/left. I can position the boot to be above the center of buoyancy so that when I put a portion of my 120 LB weight on a ski, it is sufficiently stable. Let’s say I transfer 3/4 of my weight between skis while skiing. That’s 90 LB pushing down on one ski. The weight of the ski and FootPaddle (~16 LB) become relatively insignificant. The other ski however has only 30 LB of my weight. Now the instability from the top-heavy 16 LB ski comes into play. If I transfer 90% of my weight, the problem is further exacerbated. In addition to side-to-side instability, the foot paddle will be adding significant weight in the bows so the sterns will come out of the water if 100% of the skiers weight is transferred.
Other
The skis shake in the the water, perhaps because they are shorter and lighter the V2.
The wing nuts that clamp the paddle shafts into the oarlock also tighten the oarlock so the paddles do not move freely in and out of the water.
The boots were slipping in the bottom of the ski.
Water pours into the cockpit if too much weight is put on a ski, it rocks in the water, or there is a wave.
Measurement lines should be drawn on the paddle shafts to make it easy to adjust the length evenly as desired.
Proposed solutions
The following fixes are in the order I intend to try them. Also, since I was not able to get the skis working well during the maiden voyage, I expect to uncover more problems during future testing by me and lighter weight skiers.
Redesigned and repositioned FootPaddle support
First, the FootPaddles need to move forward so the skiers hand paddle does not hit the foot paddle blades. I’m planning to completely discard the current FootPaddle supports. The blade side oarlock will mount pretty much directly to the top, outboard side of the ski. The shaft side oarlock will mount on the opposite outside side on a vertical plate that can be adjusted up or down so the skier can adjust the distance the blades sit above the water. I’ll try to make this assembly as light as possible, however I’m limited by the weight of the blades, shafts, and oarlocks which add up to 2.7 LB. The current support is 1.4 LB. Placing the oarlocks on the outsides of the skis may compensate for the closeness of the center of gravity to the flat edge. It also might overcompensate.
Risers around cockpit to prevent spillovers
Water may spill over into the cockpit if the ski rocks in the water, a wave comes, or the skier’s weight is more than the maximum buoyancy provided by the ski. I’m leaning towards extending the cockpit up 2 or 3 inches to keep water out. I’ll want to do this in a way that does not make the skis more top-heavy. My first idea is to attach a plywood barrier to the insides of the inwales and bulkheads.
Clamp to fasten skis together
Even if the skis were not unstable and top-heavy, it would be useful to be able to fasten them together. This feature will be most useful when getting onto and off of the skis from the dock, but will also be needed when a skier is getting back on the skis after falling in. It might be nice as well to allow a skier to sit down and take a break while out on the water. I think a good solution will be to attach a straight piece of wood going across both skis. It would hook into the port and starboard sides of each ski.
Balast
I will not know if ballast will be useful until the FootPaddle assembly has been rebuilt. There are several problems that could potentially be solved with ballast. If the outboard mounted oarlocks have over compensated for the inboard location of the ski’s center of gravity, I could add a little weight at the inboard side of the cockpit. If the FootPaddle is adding too much weight in the bows, I could add some weight in the sterns. That would mean cutting a hole in the decks to access the bottom of the ski. If the top-heavy nature of the skis proves to be too much of a problem, it may be necessary to add a rudder or keel, since just putting weight on the bottom of the ski might not be efficient. In general, I want to keep the skis as light as possible.
Rudder, centerboard, or keel
It may be possible to add an outboard rudder somewhere in the rear of the skis. It could lower the center of gravity, reduce the rapid rolling or shaking, and maybe even be incorporated into a steering mechanism. I would not want it to impede the skier from getting back in from the rear after falling in. This means avoiding fittings on the top, stern ends.
It’s probably too late to make a significant modification such as a keel or centerboard. Maybe I could consider it for V3.1 (Leonardo)
Length and shape of longer skis
If you happen to read my earliest blog entries, you’ll notice that I was planning on making 10 and 12 foot skis. If I get it together make a second pair, there are more options before me. I could abandon the banana shape, add a keel, or create a lighter FootPaddle. I still want to get more friends and strangers out cross-waterskiing. I still want to make a tandem. Maybe I need 14 foot skis.
Conclusion
Thank you for reading. Please let me know if you have suggestions or would like to help in any way.
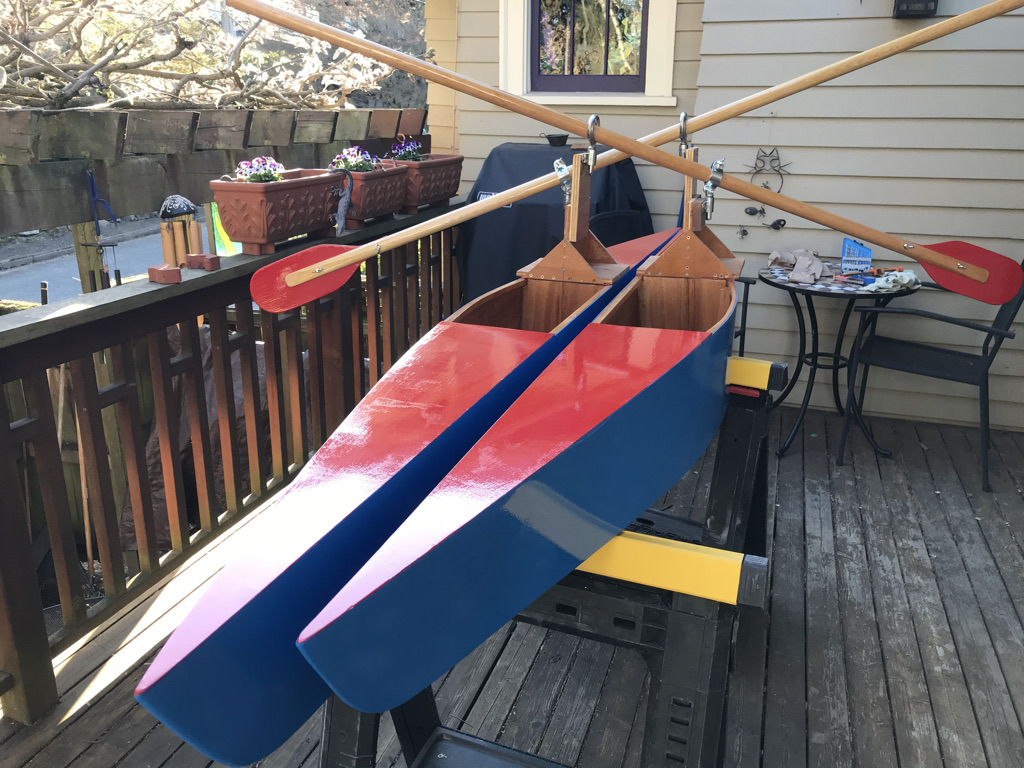
Four and a half months later, our V 3.0 cross-waterskis are ready for the water. I’ve got my wetsuit and PFD. We are only six weeks behind schedule from the end of January. That’s not so bad, however we intended to have completed 10 foot and 12 foot skis by May 1. WHAT WAS I THINKING?!!.
There will be a maiden voyage and christening at the University of Washington Rowing dock this Sunday, April 18 at 3 PM. No rides this time unless your shoe size is men’s size 8 and under, you weigh under 130 LB, and you can fit into my small wetsuit.
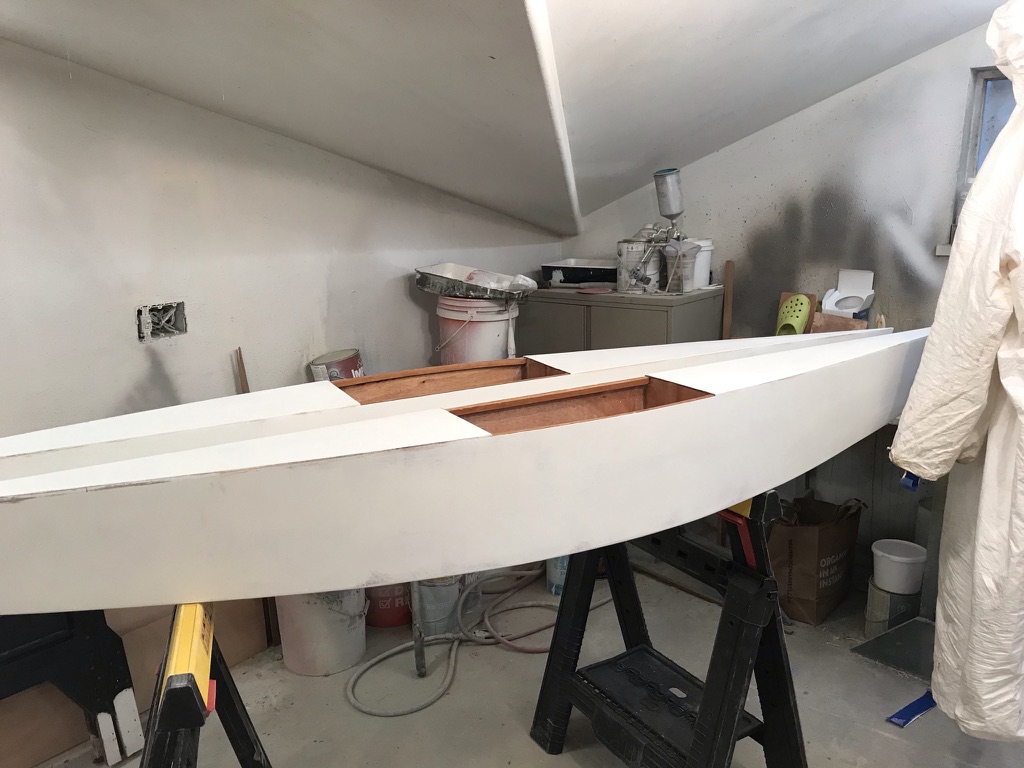
Priming was successful, however it revealed some imperfections. This is just a prototype, however after all the work, it’s hard to ignore the minor flaws and not clear how to fix them. I had cracked the tip of one of the deck pieces and didn’t fully fir out the joint between the sides and the decks. I ended up just smacking on some firring compound. After a tiny bit more sanding, I should be ready to paint. Call me about seeing a maiden voyage in about a week.
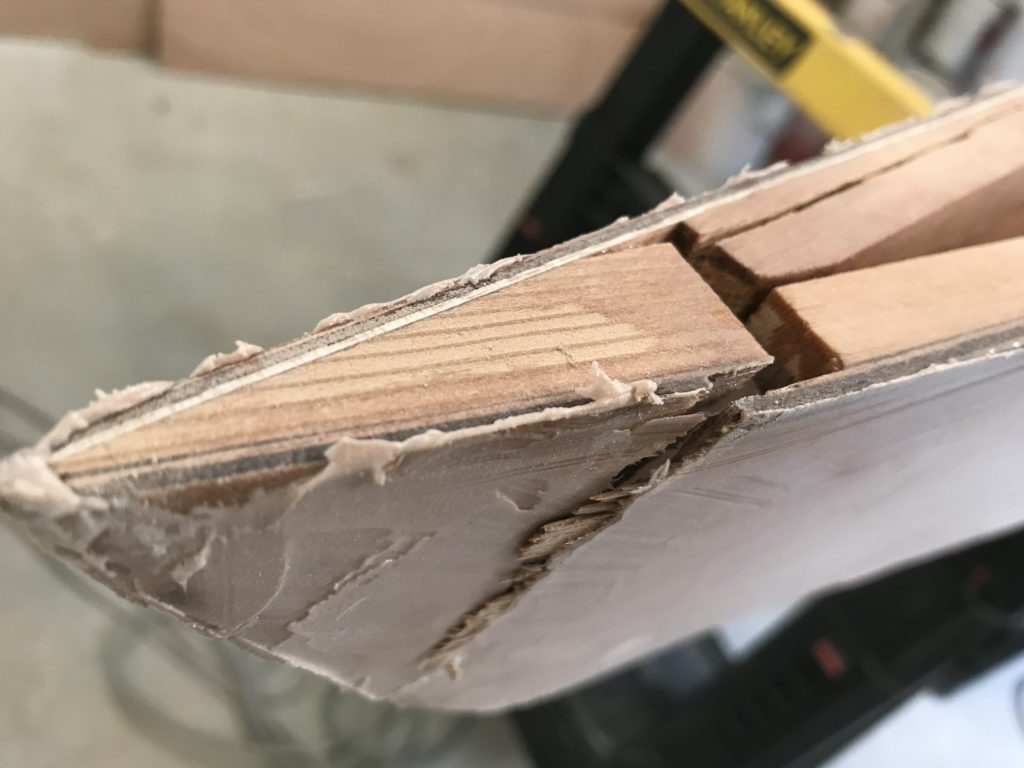
I’ve not posted since getting started in the Karlstrom Associates factory. So much has happened. First, the outsides of the skis have been covered with light weight fiberglass cloth, and then several coats of epoxy. This may not be noticeable from the picture because the fiberglass becomes transparent when coated with epoxy. Since I had to put on several layers of epoxy, the end result was not smooth. I went back to Fisheries Supply and purchased some epoxy based fairing compound. It was reasonably easy to apply, however after it had dried, it was much harder to sand than I had hoped. I ended up burning up my nice Makita random orbital sander and knocked one ski off the saw horses, cracking the ski tip.
If you have been following my earlier blog posts, you might have noticed that my inwales extend all the way to the tip on the other ski. This was a lot of work so I decided to cut corners on this ski. I thought it would still be strong enough. WRONG! Of course, I didn’t expect to knock the ski off the saw horse.
Another step I completed this month was the “end pours”. This is an important step in stitch-and-glue boat building where you put the ski on end and pour a small quantity of epoxy in to strengthen the tip.
I did this at the same time that I repaired the broken tip. Several things went wrong. First, I mixed up about 12 oz of epoxy. This was already a bad idea because 12 oz of epoxy is 12 oz of weight that I do not want to add. However, before I could pour all of it in, it got hot and started to steam. Epoxy gives off heat as it cures, and it cures faster when it is hot. A larger volume in a cup has less surface area to cool it down. The result was a piping hot chunk of hard epoxy that I placed outside before going home.
When I came back the next day, a tiny amount of epoxy had leaked out of the broken crack. My ski was solidly glued to the floor. Don’t tell Sten that a tiny piece of floor is now attached to my ski tip.
Our Chief Idea Builder, Andy Houston
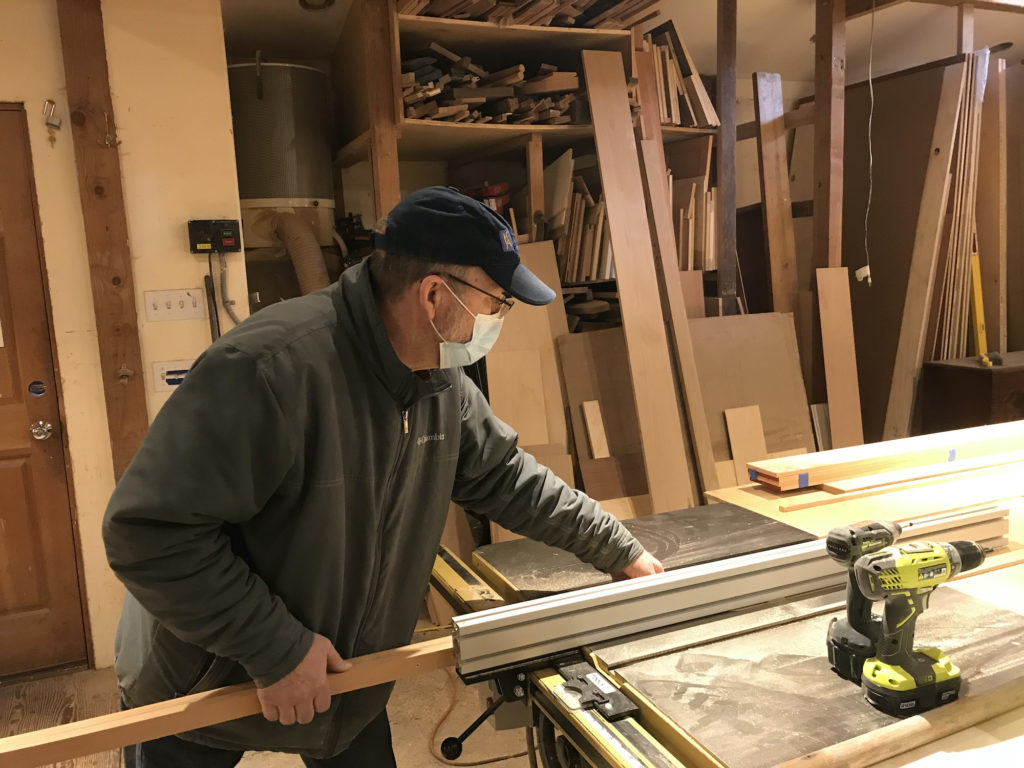
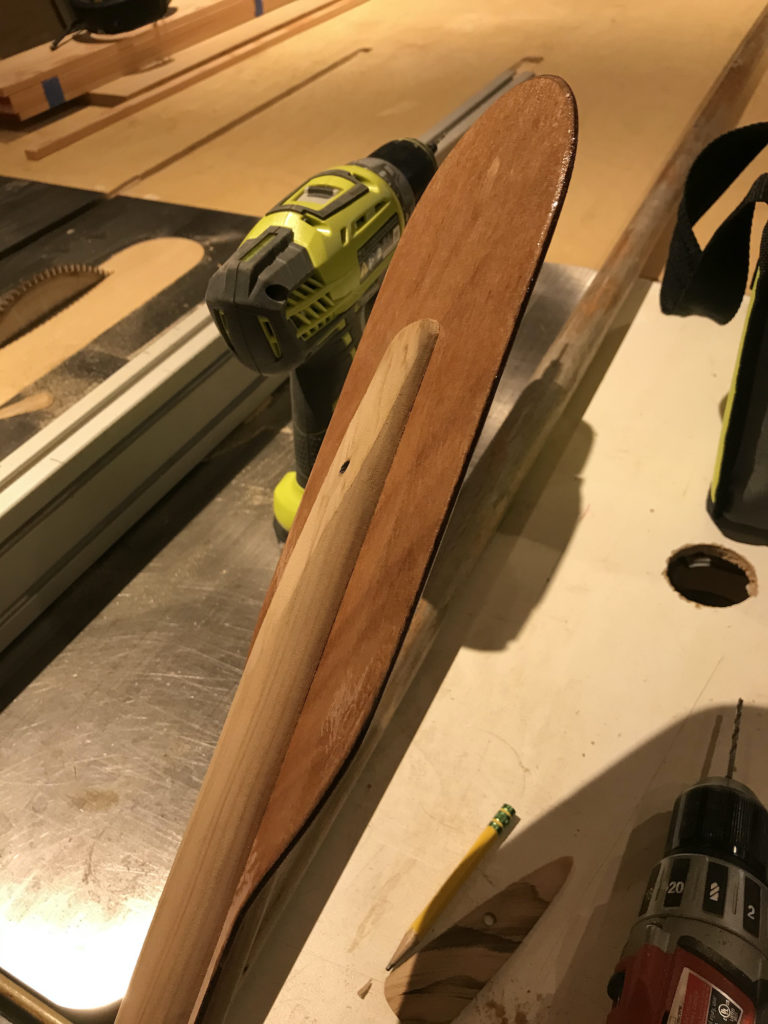
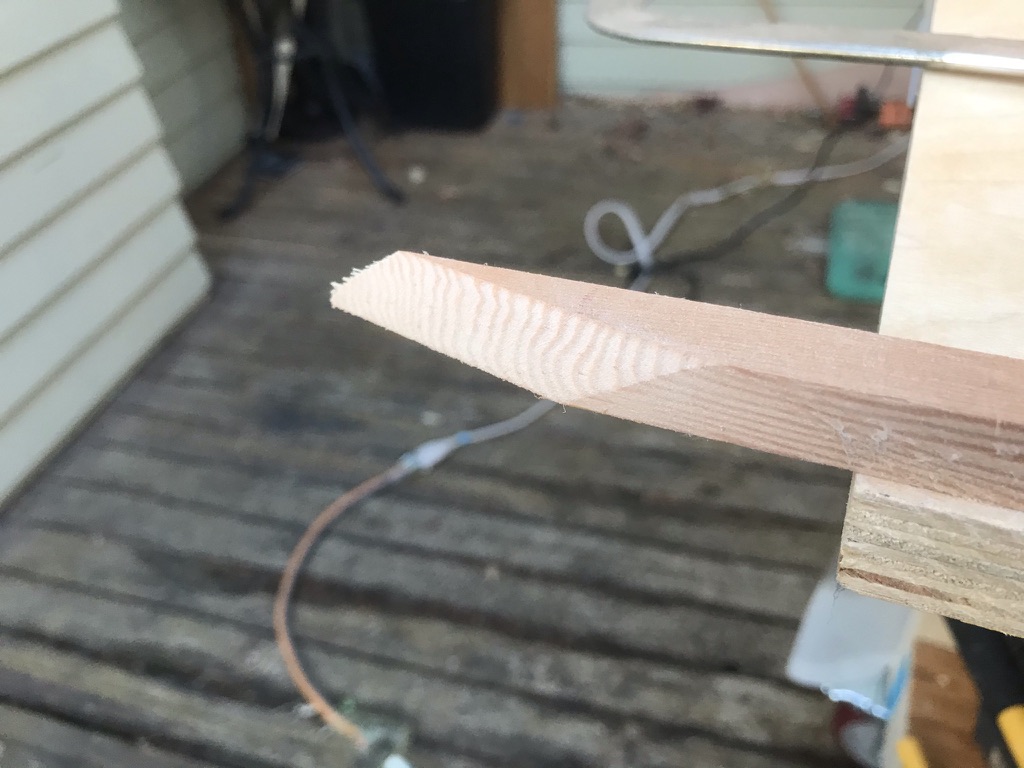
Andy helped me cut slots in my oars for the paddle blades. I’m using this design so that I can easily swap out blades of different sizes and shapes. I will not know what size and shape is best until we test with skiers of different height, weight, and strength. The blades will be clamped into the oars with a couple of bolts with wing nuts.
The ends of the oars are feathered to eliminate stress concentration in my 3mm plywood.
Late last month our fiberglass and epoxy facility was shut down unexpectedly by the local Department of Health (DOH). We had been located in a building with an upstairs residential space. Unfortunately, odors from the epoxy resin seeped through the walls and ceiling into the living space.
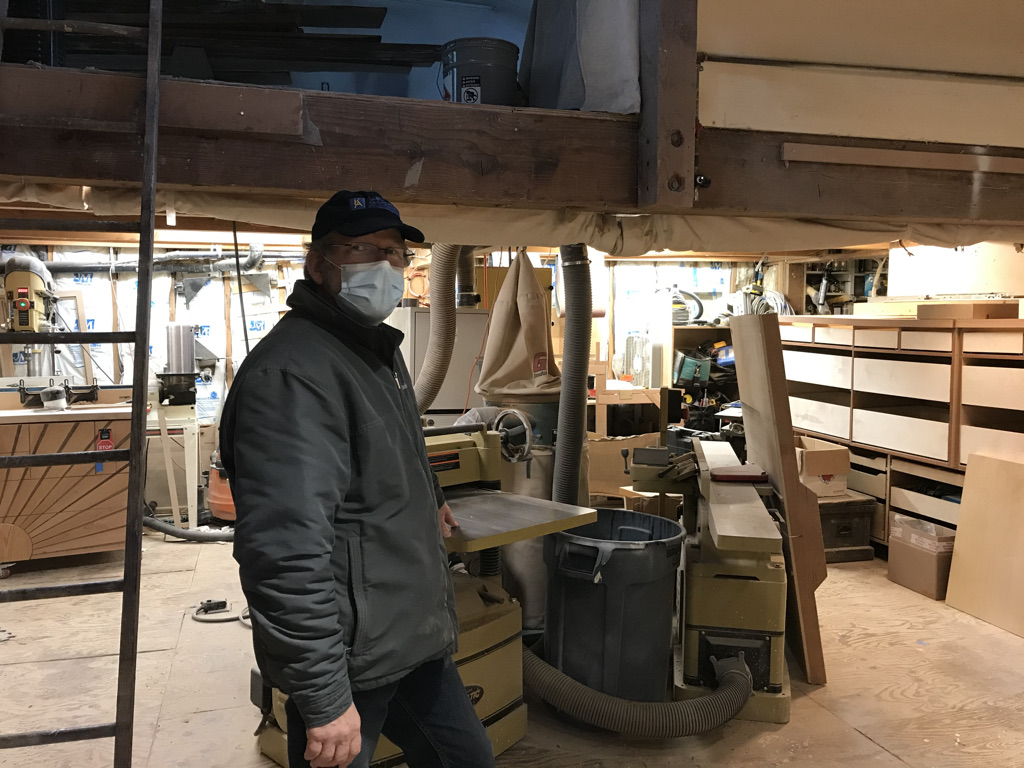
Lower level with ladder to painting loft.
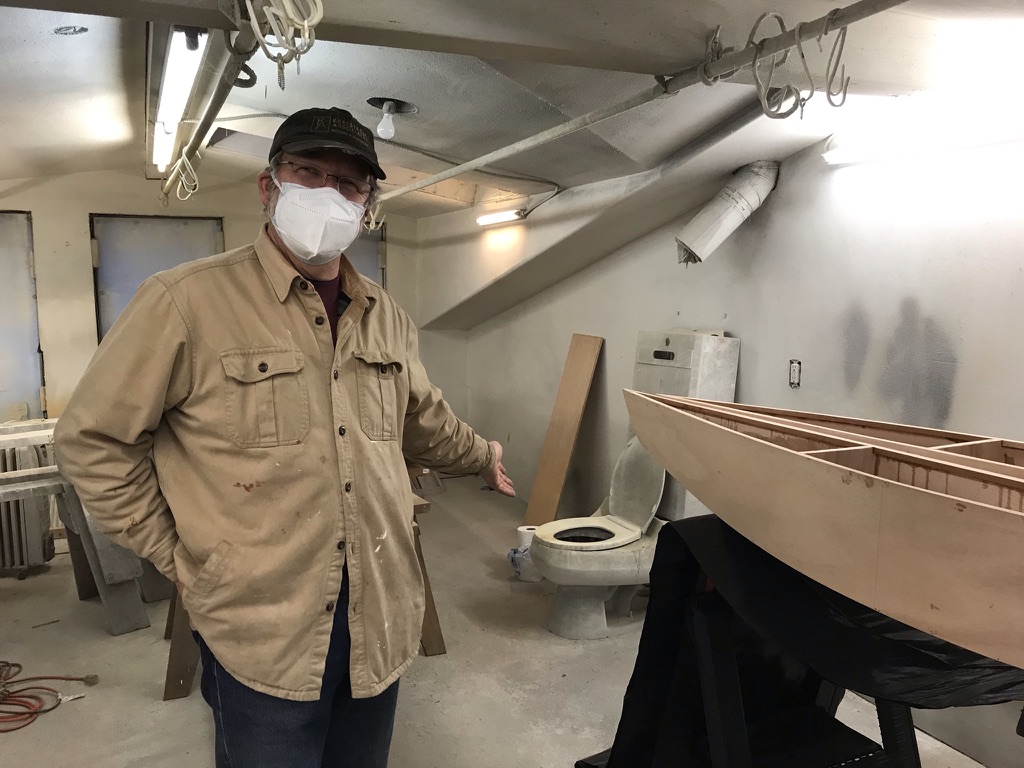
While our aggressive schedule has certainly been impacted, our Head Idea Builder, Andy Houston was instrumental in negotiating a move to this excellent new location. We are happy to announce that on March 1, 2021 we entered into a strategic partnership with Karlstrom Associates. Fiberglass, glueing, and painting will continue in the painting loft of their spacious North Seattle facility.
Convenient facilities located right in the painting loft.
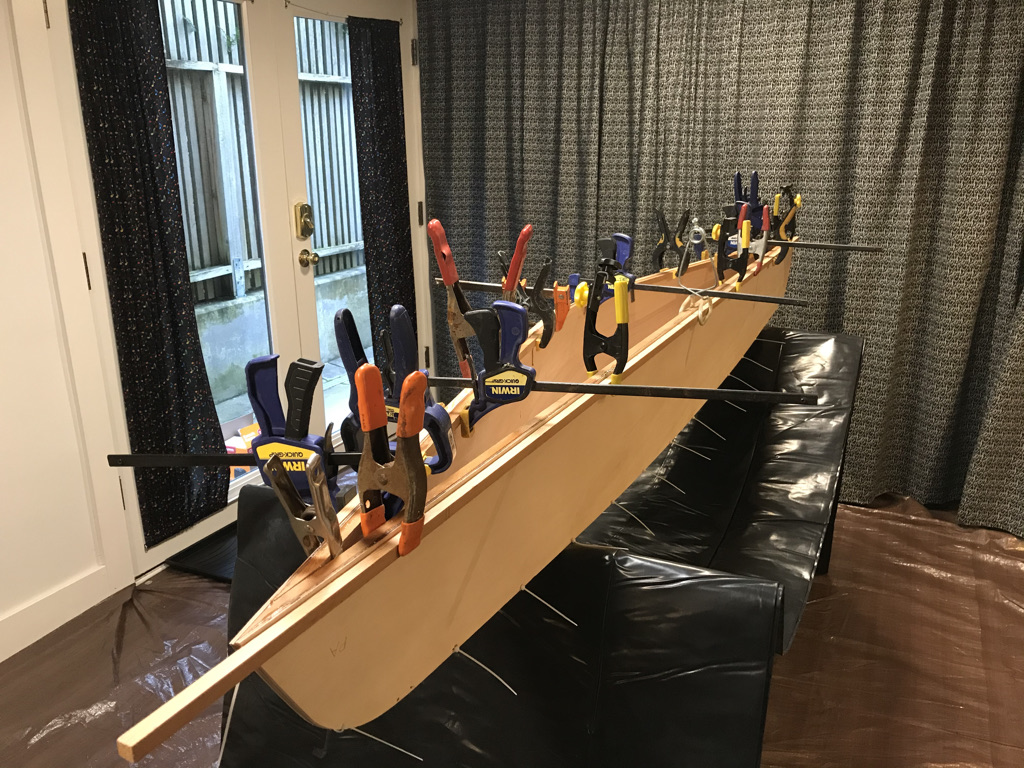
Our next step will be filleting and taping the inside seams. I will first do the fore and aft cavities since they will not show, and then the cockpits. The fillet material will be epoxy thickened with wood flour. Since I don’t know how much I’ll need, I’ll start with just a few ounces. I only have 30 minutes to work each time I mix epoxy. I’m supposed to also cover my fillets with fiberglass tape and epoxy while the the fillets are still soft, so you can see how tricky this will be. Once the filleting and taping is complete, I’ll epoxy the entire interior. By the way, Stitch-and-Glue Boatbuilding by Chris Kulczycki is my main guidebook for this project.
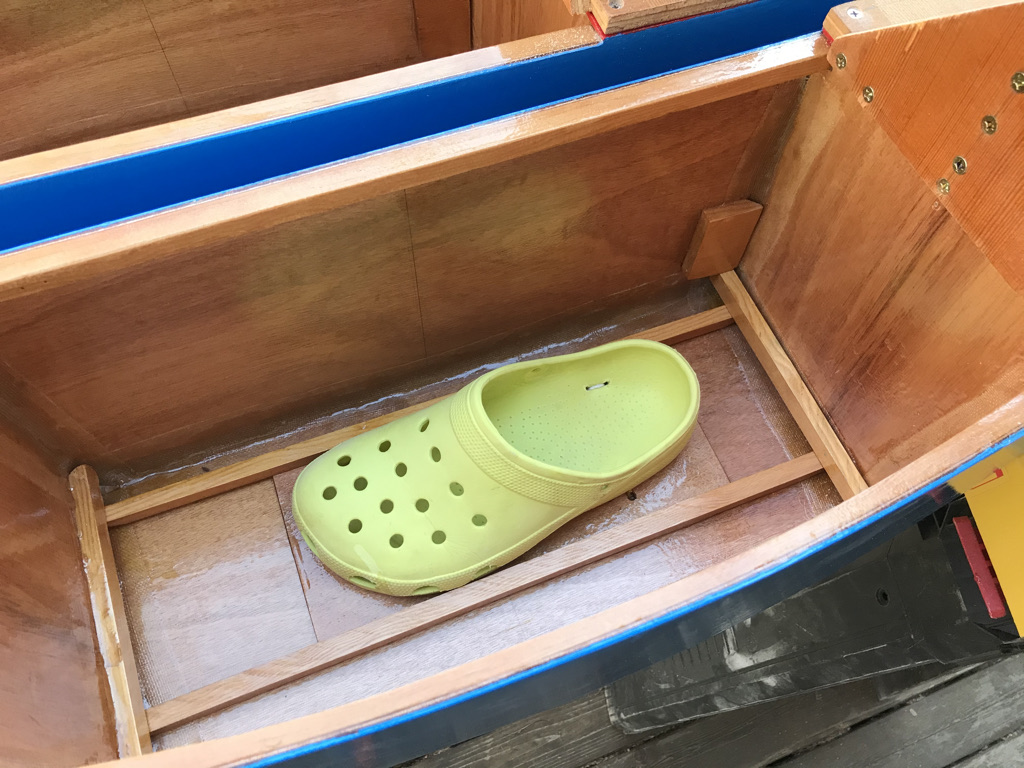
There are several tasks I can do in the 3 days I must wait for the fillets to cure. One is to construct the boot assembly. I believe Crocs will be perfect. I plan to attach them to pieces of plywood that can easily be swapped out to accommodate skiers with different size feet. I’m hoping I do not need to sew the shoes to the plywood. I’ll test glue the removed Croc strap to see how well it holds while I’m filleting and taping. Oh, and don’t forget I need to glue my glasses frames that I stepped on while I was scraping snow off of our car yesterday.
Another task that can be done in the next few days will be construction of the FootPaddle® supports and the paddles themselves. Read more about this in a future blog post.
I’ve always been unsure of myself about the degree of precision necessary for carpentry projects. The design of my V3 skis is happening continuously during construction, resulting in innumerable decisions at every step. To top it off, not much is square, and the 3 mm plywood is a little like cloth and bends in unpredictable ways. I originally determined the shape of the outside piece by blocking the centers of the inside and outside pieces with a 9 inch wide spacer, bending the outside piece to touch the inside piece on both ends. I then marked and cut the shorter inside piece to length. The bottom piece was then placed underneath, and traced to fit. Things did not line up exactly during stitching though, and I found myself trimming the top and ends on the shorter inside.
I may have cut the shear clamps more accurately than necessary. I cut and sanded the ends to fit perfectly as the pictures show.
Compound angle cut on shear clamp
Achieving the fit you see on the left was relatively easy on one side with my orbital sander, however I had to clamp the pieces in place in order to determine the exact lengths on the other end. I’m not sure the additional strength is worth the extra work. We’ll see what I end up doing on the starboard ski.
In the end, I got the shear clamps glued. The Mas epoxy stipulates 3.5 days to be fully cured. In the mean time, I’m working on the port ski. When it gets time to build longer skis, I hope to have the design process greatly simplified.
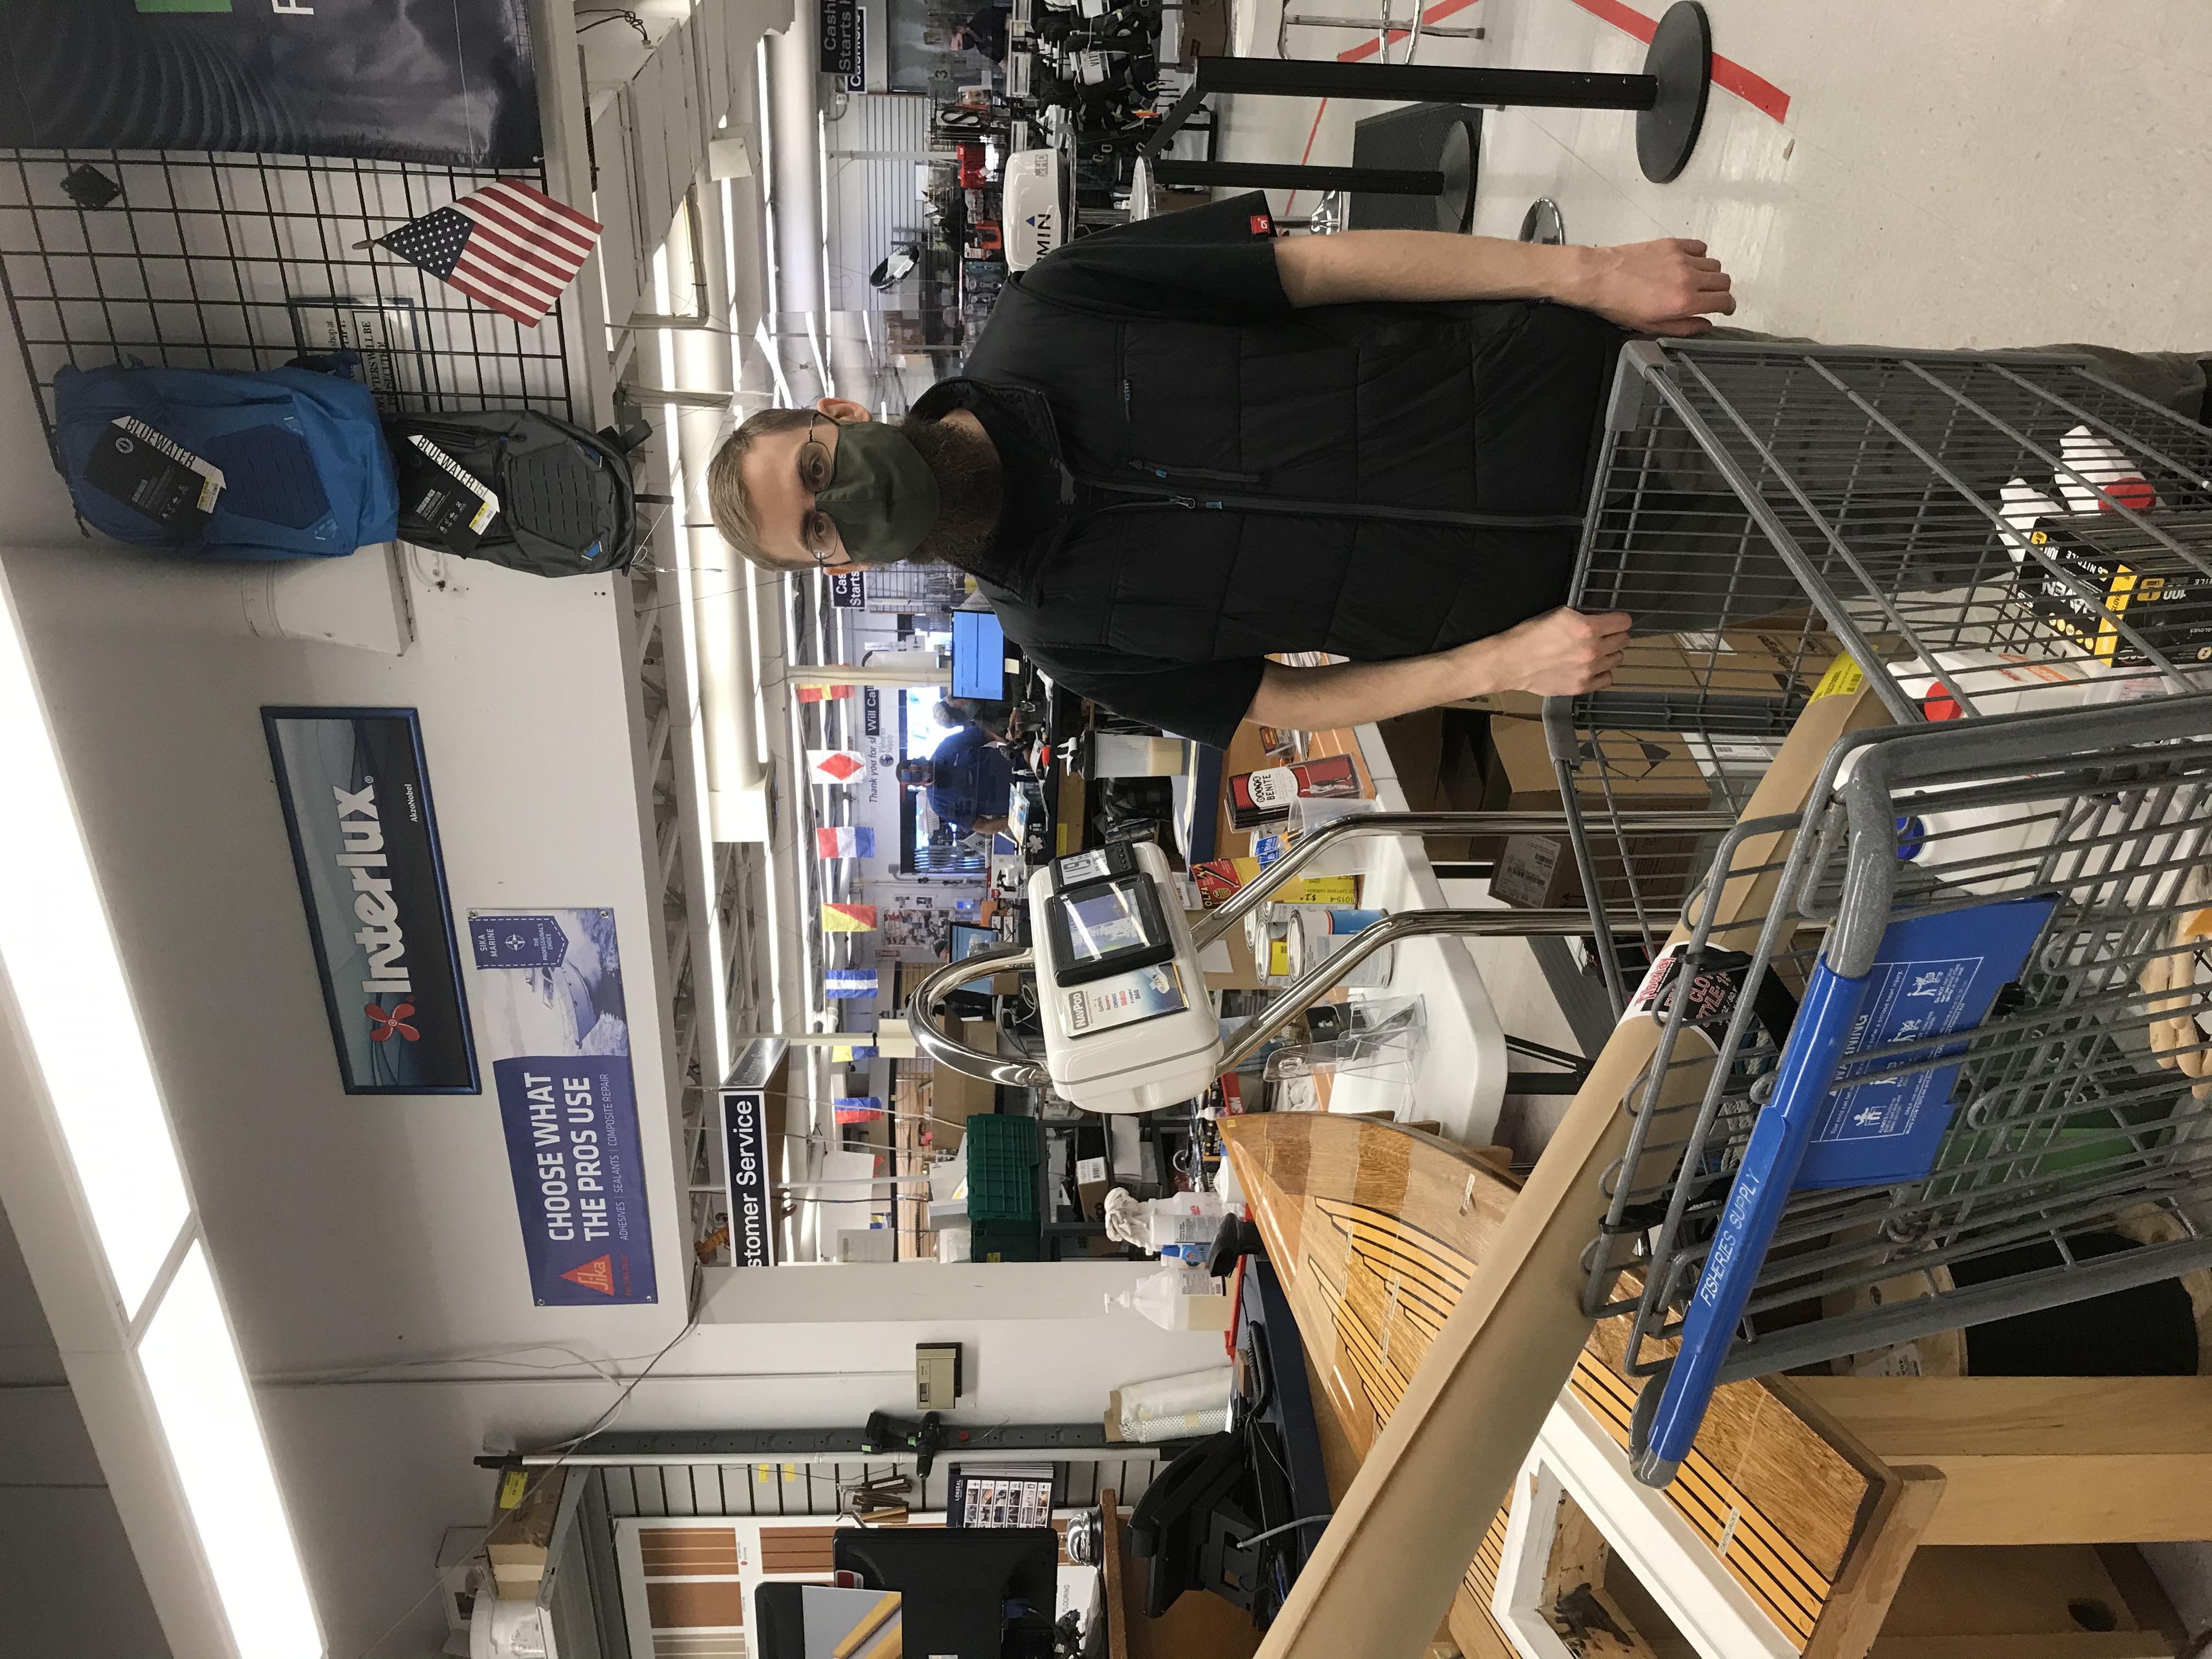
Cost of a pair of 8 foot cross-waterskis just went up $400 with this purchase from Fisheries Supply. Their fiberglass and epoxy specialist, Joey was incredibly helpful. I’m still a few days away from the first glueing though.
Even though it is still only January, much work needs to occur in order to be ready for the opening day of cross-waterskiing season on May 1, 2021. Current plans are to complete 3 sets of skis, 8 ft, 10 ft, and 12 ft to accommodate skiers between 80 lbs and 250 lbs. The largest set of skis will also serve as a tandem. Following is a rough schedule that will hopefully allow us to achieve our May 1 goal.
1/24 – Drill and wire up left ski. Reshape pieces as necessary.